Navigating InVision: Essential Tips for Seamless Wireframe Creation
Taking on a new feature development task in any software project is exciting, but it also comes with a myriad of challenges and opportunities. My tool of choice in addressing these has been InVisionApp, an exceptional platform that allows me to visualize and design user interfaces effectively.


One of the key initial steps in this process is the creation of a wireframe — a three-dimensional skeletal model used for planning the layout and system functionality of an application or website. Wireframes serve as a bridge between raw ideas and the final product, allowing us to explore variations and instigate changes early in the design process. I have found a treasure trove of useful techniques in InVision for creating wireframes, and today, I’m eager to share some of those insights with you.
One of the defining features of InVision is its Freehand mode, a powerful tool for brainstorming and collaboration. Picture a vast digital whiteboard where multiple users can simultaneously contribute, making it ideal for group brainstorming sessions. But Freehand isn’t only about group collaboration; it also becomes a personal canvas where I lay down my creative thought processes, drawing rudimentary sketches, adding notes, and mapping out user flows for our application.
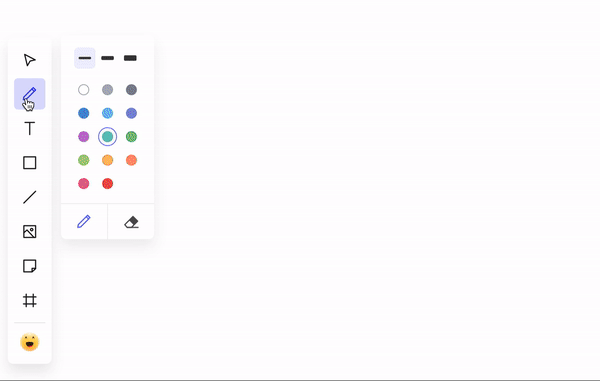
Learning to use the Shift key effectively in InVision can be a game-changer. For instance, when in Pointer mode, holding down the Shift key allows for selecting multiple objects, facilitating easy movement and manipulation. In Pen mode, things get even more interesting; the Shift key can transform your squiggly lines into neat, straight ones, irrespective of your drawing skills. An advanced trick to try is drawing straight lines in any direction while holding down the Shift key, offering precise control over your line direction.
InVision offers more magic with the Option key. In Pen mode, holding down the Option key transforms your sketches into rectangles of various dimensions. The sketch you draw becomes the diagonal of the rectangle, and the size of the rectangle depends on the length of your sketch. This feature is remarkably handy for quickly blocking out areas of the wireframe.
Grouping objects is another practical technique in InVision. By grouping multiple items, you can treat them as a single unit when moving, resizing, or copying them. This feature becomes especially valuable when dealing with complex wireframes. Even after grouping, you can conveniently ungroup the items to perform operations on individual objects, enhancing flexibility during the design process.
Sticky Notes are an underrated feature of InVision, providing an easy way to jot down your thoughts or offer suggestions to others. These are particularly useful in a collaborative design process, making it easy to share ideas, make annotations, and leave feedback directly on the design.
The last trick up InVision’s sleeve is its extensive list of keyboard shortcuts. Switching between different modes is made simple with designated shortcut keys like ‘V’ or ‘1’ for Point mode, ‘P’ or ‘2’ for Pencil mode, ‘E’ for Eraser tool, ‘T’ or ‘3’ for Text, ‘S’ or ‘4’ for Shape, and ’N’ or ‘6’ for Sticky Note. These keyboard shortcuts are instrumental in enhancing productivity and expediting the design workflow.
In summary, the InVision App has proven to be a potent tool in my design arsenal. It has significantly boosted my productivity and made collaborative design a breeze. With these tricks at my disposal, I’m looking forward to delving further into the depths of wireframe design and shaping the upcoming feature into an efficient and user-friendly component of our product suite. If you’re in the design world and haven’t tried InVision yet, I’d highly recommend giving it a spin — you won’t be disappointed.
Get AI scheduling insights, product news, and Bay Area community updates delivered to your inbox.
No spam. Unsubscribe anytime.